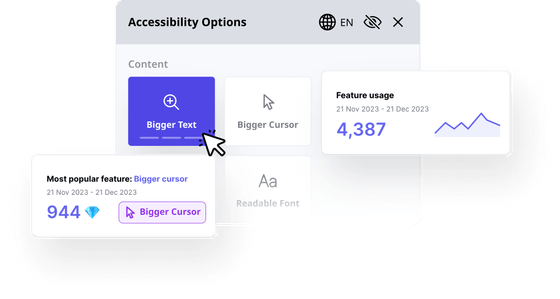
Integrating Accessibly App into your website has never been easier, thanks to our new Google Tag Manager (GTM) template. This guide walks you through the process of adding Accessibly App to your site using GTM, ensuring a seamless and straightforward setup process. By following these steps, you’ll enable your site to become more accessible without needing to directly alter your website’s code.
Step 1: Access Google Tag Manager
Log in to your Google Tag Manager account and select the website container where you want to add the Accessibly App.
Step 2: Add the Accessibly App Template
- In the GTM interface, navigate to the Templates section found in the left-hand sidebar.
- Under the Community Template Gallery, search for the Accessibly App template.
- Click on the Accessibly App template to view the details, and then click Add to Workspace to install the template.
Step 3: Configure the Template
Once the Accessibly App template is added to your workspace, you need to configure it with your unique Accessibly Domain Identification Number.
- Go to Tags and click New to create a new tag.
- Click on Tag Configuration and choose the Accessibly App template you’ve just added.
- You will see an option for Accessibly Domain Identification Number. Here, you’ll need to enter your unique domain ID.
Finding Your Accessibly Domain Identification Number:
Your Accessibly Domain Identification Number is a unique identifier that links your GTM configuration to your Accessibly account. To find your domain ID:
- Log in to your Accessibly dashboard at dash.accessiblyapp.com.
- On your dashboard, find the Embed URL provided for your domain. It will look something like this:
<script src="https://dash.accessiblyapp.com/widget/YOUR-DOMAIN-ID/autoload.js"></script> - Your Accessibly Domain Identification Number is the alphanumeric string in the URL (for example,
34a7f3af-dd3f-4d3e-b67a-cd2668a593bf).
Copy this ID and paste it into the Accessibly Domain Identification Number field in the GTM tag configuration.
Step 4: Set Up Triggering
- In the tag setup, click on Triggering.
- Select the trigger that defines when the Accessibly App should be loaded. We recommend setting it to All Pages to ensure accessibility across your entire site.
Step 5: Publish Your Changes
After configuring your tag and setting up triggering, click Save to finalize your tag setup. Then, go to the Workspace overview and click Submit to publish the changes to your website.
Congratulations! You’ve successfully integrated the Accessibly App into your website using Google Tag Manager. Your site is now more accessible, making it easier for all users to navigate and interact with your content.
If you encounter any issues or have questions during the setup process, please contact our support team. We’re here to help ensure your website is accessible to everyone.
